Explore the Process.

Virtual Irrigation Controllers

Firmware Engineering + Software Dev

Better Course Planning

Research + Product Design

Smart Thermostat Graphics

Graphic Design + Rapid Prototyping

Box Buddy Desk Toy

Arduino + Rapid Prototyping

Ultrasonic Octopus

Arduino + Rapid Prototyping

Sneak Peeks

Analysis, Technical, Design, or Other

Virtual Irrigation Controller Simulators

Scenario/Context

What this is for: Rain Bird Corporation, an irrigation product manufacturer focused on minimizing water consumption.

Team: Solo Project

Task

Many commercial-use irrigation controllers are big and bulky. In order to test features or view UI localization changes, you need a controller on your desk, possibly multiple.

Rain Bird needed a solution to simulate the LX-IVM, LX-IVM Pro, and LXME2 controllers virtually without the need for a physical unit taking up space.

Some of the initial challenges: 

  • The codebase was not created with this sort of change in mind.
  • The firmware team needed to make firmware changes to allow this, so the task couldn’t be completely given to a team more familiar with software or web development.

Action

________________________

Prototypes

________________________

I started with three prototypes, initially focused around the LX-IVM.

Prototype 1: Implement a simulator application in Windows Forms (C++). Because of how the original code was implemented, this would work best without having to switch languages or change more than absolutely necessary. Windows Forms does have some quirks around how it handles images, bitmaps, and changing those, but I was able to work around that to a degree. This prototype provided the least model/view/controller separation, as I was building a chunk of it in the middle of the existing codebase just to replace a physical unit as the output screen.

Prototype 2: Using sockets to transfer only required information to some other interface. This prototype embraced the MVC policy of creating complete separation between interface implementation and brains. This would allow the actual implementation of the interface to be in pretty much any form (perhaps one more friendly than Windows Forms) and piggybacked off of a version of this project that another person had begun before I came to the company.

Prototype 3: Creating the simulator interface as a C# application by exporting just the parts of the firmware code that I needed. This prototype was kind of a happy middle ground between the previous two in terms of separation of affairs. The frontend/view was still blind to what the backend/model was doing, but it had a much more concrete "controller" in the form of the function calls I gave it access to through the exported DLL file. This had the added bonus of cleaning up how each part of the code interfaced with the others, making it more maintainable by people other than myself in the future. Building a UI with C# also let me take advantage of Visual Studio's tools for UI layout, which I liked better than the WinForms workflow. As an added bonus, the C# syntax was very similar to what I'd done in the past for UI development in JavaFX.

Prototype 3 was chosen for continued development.

________________________


Adjustments

________________________


At this point, the project scope was adjusted in two ways. First, there was a discussion on bringing this project to wider use with departments handling marketing, troubleshooting customer issues, and general quality assurance, rather than just testing and checking UI localization compatibility. This brought with it a request to have any simulator applications accessible not only on Windows, but also on mobile devices and tablets for portability.
Second, a requirement was added by the security team: Compiled firmware cannot be on non-firmware-group laptops, even within other departments in Rain Bird. This brought a need for some kind of hosting in the solution.

Two main ideas came from this need. The interface could become a fully web-based application, or we could simply stick the Windows solution onto an AWS EC2 instance and have it be accessible through a virtual Windows desktop to any device. The second option was chosen here for efficiency (and due to the save file feature mentioned below), with the door kept open to option one possibly at some point in the future.

________________________


Challenges and Extra Features

________________________

A few side challenges and user requests came up during the course of user testing and demo runs to stakeholders that needed addressing.

  • Certain future controllers may need screen graphics handled in a different way due to different screen hardware design. This was addressed by abstracting out the virtual controller screen management a bit to make the interface code as flexible as possible to future expansion.
  • A persistent issue popped up regarding a bad interaction between the embedded application running with ThreadX (which was now running on windows) and the native Windows GUI emulating the display. For readers without a coding background, basically the a key part of the code in the firmware libraries behaved differently in a Windows environment versus on the actual hardware. This ended up requiring a workaround in the form of digital percussive maintenance. In other words, kicking it repeatedly until it did what I wanted. Not ideal, but it worked.
  • The ability to create save files was requested in testing to minimize time spent on setting up controllers to specific common configurations. This feature specifically ended up really selling some stakeholders on the EC2 virtual desktop hosting option for the simulators.
  • The ability to have the entire front-plate of the virtual controller change when a user changed the language option in the virtual controller was suggested in user testing and implemented. Rather than just switching the controller's screen language, all labeling across the simulated unit would update to the correct language.

Results and Summary

The ultimate resulting simulator design had a GUI written in C#, using custom function exports from compiled firmware to maintain some amount of MVC architecture. It was tested with all stakeholder departments and had options to simulate the LX-IVM, LX-IVM Pro, or LXME2 controllers on any device through a virtual Windows desktop on an AWS EC2 instance.
All three simulator options were adopted by their target departments for the purposes of localization, quality assurance, testing, troubleshooting, and marketing, with discussion raised around creating more simulators (and possibly a simulator hub application) for other controllers.

There was also discussion raised around expanding virtual controller functionality to communicate with and control real-world units. As the simulators were designed to be expanded (and a team which does cloud-controller integrations and development within Rain Bird was consulted during the creation of the simulators), this is potentially feasible in the future.

Designing a Better Course Planning Experience

Scenario/Context

Who this is for: South Fayette Township School District is a public school district encompassing both middle and high school, with a focus on "future-focused, innovative, diverse, and high-quality learning opportunities." They chose to partner with Carnegie Mellon University's Master of Human-Computer Interaction (MHCI) program for a capstone project to put a team of four onto their requested task.

Team: Myself, Erin Sawyer, Vivian Li, and Lori Chen

Task

The task we were given focused around reframing and redesigning the course catalog (or Program of Studies), both as an artifact and as an experience.

The requirements as outlined in the initial project brief:

  • Design an innovative course catalog to ensure descriptions are always current, highly usable on multiple devices, and are tailored to support student exploration and decisions about courses and careers 
  • Apply social learning theory, cognitive biases and methods of designing for behavior change to encourage students consider and choose courses outside of friend groups 
  • Collect and visualize data about usage by many stakeholders including students, guidance counselors, faculty, parents and other stakeholders by designing instrumentation for a next gen course catalog 
  • Capture student longitudinal sentiment about courses at enrollment, during delivery, completion and at graduation to understand impact on students between grades and after secondary education

Action

Note: Because I know your time is limited, this is the short version. For the version with the details and our more specific methods, please check out the following resources:

Team Website Research Report Medium Blog

...or talk to me about it!

________________________


Starting Research

________________________

Through interviews and research with students, teachers, advisors, and counselors, our team narrowed the client's main issues down to a set of two main statements:

  1. The Program of Study has valuable information, but it's underutilized by students.
  2. Students appreciate the variety of course and opportunity choices available to them, but the current form of the course catalog (a pdf, hundreds of pages long and parked on a portion of their website that few, if any, students check) makes variety a burden.

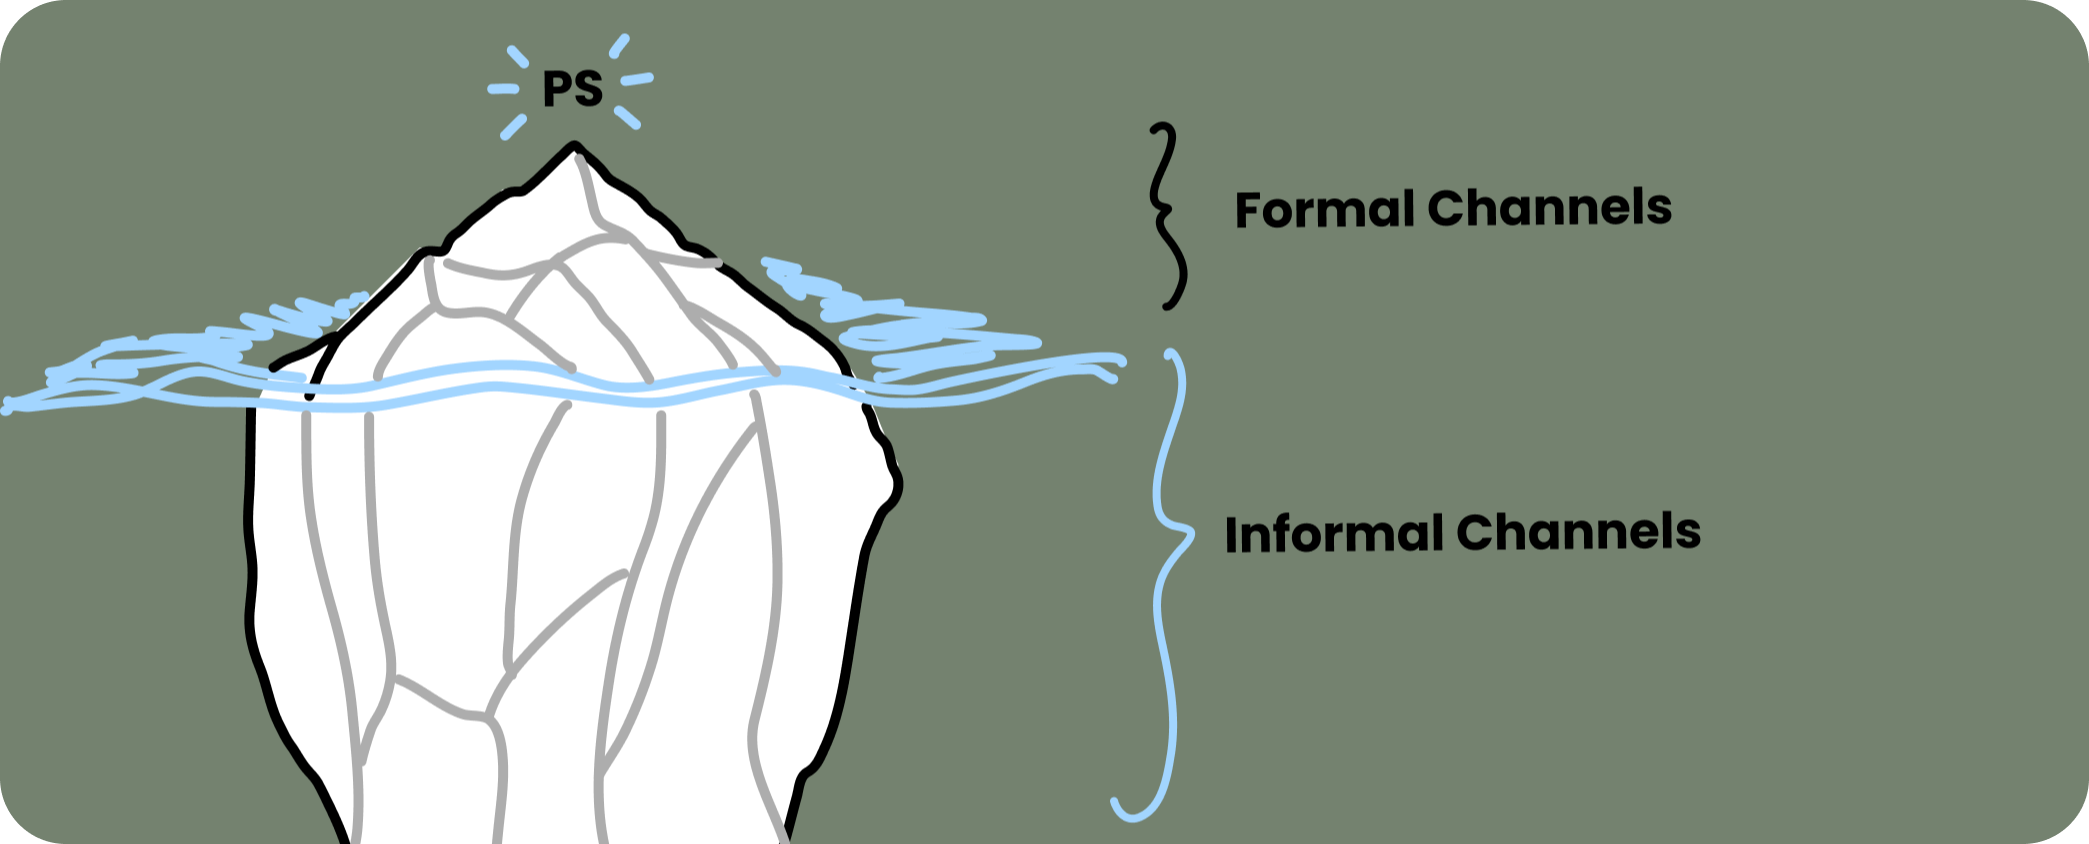
Further, we noticed a few other key facts. South Fayette uses PowerSchool for course registration, and even though there is space to put course information, they don't use it and students don't notice it's there. Using a separate system for registration and course exploration creates a gap between where documented information exists and where it is actually being used. So students aren't using the Program of Studies for information on courses, and they don't get that information from PowerSchool. Where do they get their ideas for classes and career?

As it turns out, informal channels of communication (conversations with teachers/peers/family/others) significantly enhances the range of information guiding students' decisions. At the end of the day, it turns out that much of this is a conversation about formal versus informal information sources and what constitutes reliable, helpful information.

________________________


Things We Learned and Focus Areas

________________________

Effective educational systems should be dynamic, not just for a diverse set of users, but also for a rapidly changing future.

  • We realized that there is misalignment between the pace of education updates and the pace at which the future that education prepared students for is changing.
  • To keep up with this, information and the systems through which it is communicated should be constantly created/maintained by and for the different stakeholders.
    In our case, we primarily focus on students, but this is absolutely not to discount teachers or counselors as part of the mix. They need to know what to teach and advise for, so they need to be just as up-to-date.

Educational interfaces should inspire human connection.

  • Teachers found that process of helping students find their passions and future careers to be the most rewarding part of the job - we shouldn't be changing that.

There is an information gap between students, teachers, and counselors.

  • While inspiring human connection and supporting information transfer is a goal, there is a potential issue when students may have incorrect information, teachers might not know what current job or college markets are looking for, and counselors might be out of touch with student goals and personalities. Our responsibility is to work to fix or bridge this gap.

And our guiding principle in this project: Our solution should not just reinforce the current system more efficiently. Our solution might take many forms (the project ultimately ends in late July, 2024), but one thing it WILL NOT BE is a prettier PDF, maybe with filtering capabilities.

So we landed on three core opportunity areas to address with our design:

Identity + Confidence

  • We believe that students who are confident in themselves will make better decisions that feel authentic to them given the information they have, and will be better able to adapt to change, even when those decisions do not work out.
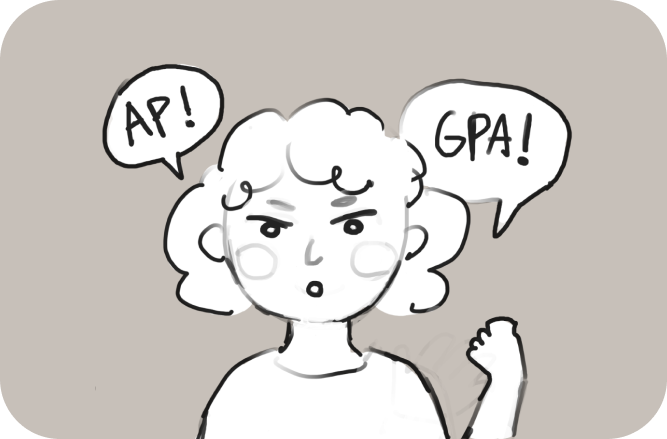
  • When students have not formed a holistic sense of self-identity that they are confident in, they tend to tie self-identity to their academic performance. High school is turning into a constant game of comparison, to the point that some students may be cutting themselves off from opportunities early because they think they might fail or might be outshone.
  • High school should be re-framed as an opportunity for growth, rather than something to optimize or a system to game.

Perception of Value

  • We believe that students' current perception of course value may limit them from having a fuller educational journey.
  • Students tend to assign higher value to courses based on perceived direct benefit to their future ("will this help me get into a prestigious college?") and may weed out more exploratory courses they could be taking to explore interests.
    • This might incentivize students more to take courses which may not be a good fit for them, or which they may not be prepared for.
    • This sense of value might be reinforced to an extent by some level of truth, but students may go overboard with optimization according to their perception of value and not actual value as defined by post-high school outcomes.

Community + Belonging

  • We believe that students who can effectively engage with their community while remaining true to themselves will adopt a bigger-picture view that will aid in decision-making.
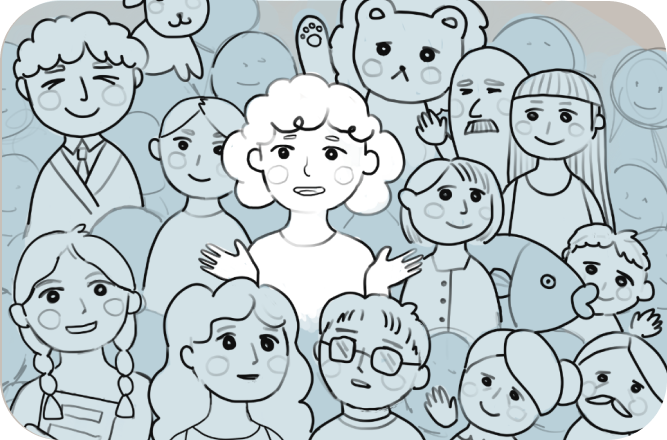
  • Students engage with their personal networks for help selecting courses. Organic interactions are key to building those, and students seek out guidance that they feel is most authentic to them.
  • Relying on personal networks may be a double-edged sword due to inviting bias, misinformation, and sources of pressure if one is not careful.

Career Thinking

  • We believe that by implementing interactive and experiential learning opportunities that bridge the gap between courses, career paths, and real-world contexts, students will be more engaged in exploring career connections.
  • High school is a great opportunity for students to explore interests and career paths in a safe environment, but students are not necessarily taking advantage of it.
  • When students have a goal in mind, they can better see connections between school and their intended career.
  • Students need enough guidance to support exploration and development, without being so prescriptive that it limits them.

We explored these opportunity areas with four prototypes, each addressing different combinations of opportunities in different formats:

  • A collaborative course catalog, where students offer reviews, tags, images, workload estimates, and other information to help peers
  • A personal profile system, focused around understanding how a student's self-identity might correspond with career exploration through use of Holland RIASEC attributes and analysis of strengths and gaps to be filled for educational goals
  • Swipe-to-match courses, focused on rapid exploration of courses and testing formats to encourage students to see courses with less bias or in different ways than usual
  • A career shift simulator card game, where students explore career thinking and flexibility by picking careers and deciding how they would approach dealing with (often outlandish) life situations that might cause a pivot

Elements of each of these made it into our final main prototype for the Spring semester.

Results and Summary

This will be updated after Summer, 2024.

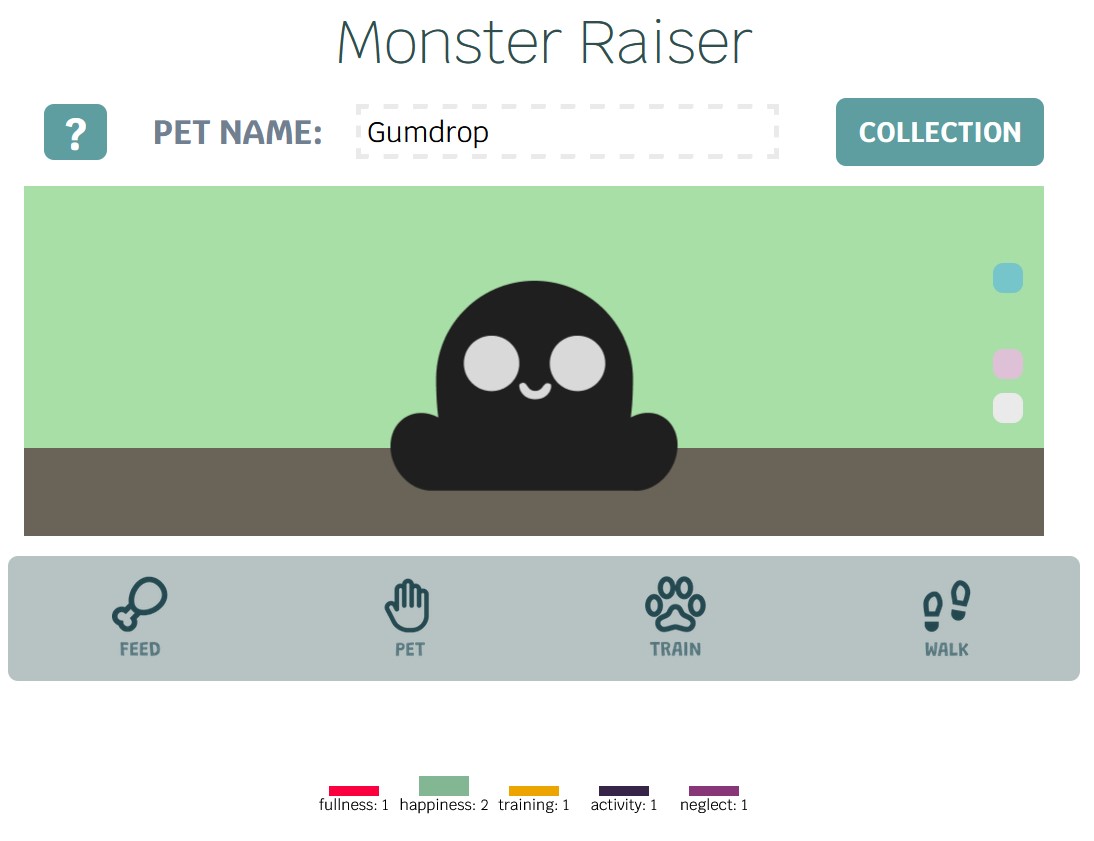
For now, our main prototype is based around offering an interactive tool that lets students build and visualize a personal profile, offering dynamic exploration of interests and courses. With a speed dating-style setup, it offers personalized recommendations and engaging information, helping students quickly check out different courses or dive deeper into the ones they like.

Prototype images and demos coming soon.

Smart Thermostat Graphics

Scenario/Context

Who this is for: Amazo Web Services, for their IoT Edukit project.
Further context: It was finals week during undergrad. The AWS IoT Edukit's demo projects were being finalized and put into tutorials. Both of these situations were very time-sensitive and high-pressure, both needed work done in one evening for the next day.

Team: Solo Project

Task

I was contacted because the team working on the IoT Edukit very abruptly needed display graphics for the Smart Thermostat demo configuration. There was no time to get official graphics from Amazon sources, it had to be done ASAP.

The required components:

  • Temperature indicator
  • Day/Night indicator
  • Fan status indicator (off/on, speed)
  • Light color indicator
  • Light status indicator (off/on)

Action

________________________

Drafts and Variations

________________________

The house motif was liked, though the more rounded, retro look of the icon needed to look cleaner and more simplified.
The lightbulb motif was liked, but this design was made while the Edukit was still going to control two colored lights at once, hence the split in the middle of the design. That feature ended up being reduced to a single colored light.
This came out of feedback from slides 1 and 2. Sharper, cleaner angles than slide 1 with the same house design, but with the more minimal fill coloring and line use of slide 2.
This came from a request to incorporate Amazon colors (specifically the orange) a bit more. These two variants were entirely experimental.
This is where we get to the final house design. These two variants include finalized colors and a better night mode moon.
The final layout. Left/Top: The full layout mockup without the on/off button. Right/Bottom: Final version with masking-ready colors, animated parts removed, and off default button.

The main challenges in this project were primarily time constraints (balancing studying and final projects for education with this) and nailing down the aesthetic the team wanted. As this project was given to me very abruptly, it was completed mostly in the span of a few hours in Procreate. In hindsight, that program choice made animating the fan sprites more painful than it had to be, so if I were to do this project again I would do that differently.

Result

The end result was a set of sprite graphics and a layout the AWS team was satisfied with, and it was completed in the time frame they needed it by. I don't have metrics for this project's impact, but I will say I was able to do it well and still manage a good grade in my Operating Systems final the next morning, so it was a success on both fronts.

Box Buddy

Scenario/Context

What this is for: This project was created for a class focused around development of small devices and gadgets for human interaction using custom PCBs and microcontrollers such as Arduinos.

Team: Solo Project

Task

The basis of this project is an open-format assignment with the stated requirements of using an assortment of sensors and components beyond what would normally be contained in a typical starter hobbyist Arduino kit.
I had the following goals in place for myself for things I wanted to explore in this project:

  • Practice using perfboard - most of my prior gadget-related projects used breadboards, direct soldering, or fully designed and manufactured PCBs. I wanted to get some experience with soldering techniques used with perfboards specifically.
  • More practice using the MPU6050 gyro’s accelerometer - after having used the angle calculation in a previous assignment (a portable "Ghost Hunter" game), I realized that the MPU6050 had more functionality that I hadn't explored yet. I considered using the temperature sensor in it for this assignment too, but the presentation format might have made drastically changing the temperate around my project more difficult than was practical.
  • Using a color sensor to bring the environment into project interactions - I've previously done projects using color sensors of various kinds, but typically to limited success due to equipment issues. This project gave me an opportunity for a unique kind of interaction with fresh sensors.

Action

While technically I was allowed to use microcontrollers other than Arduinos for this assignment (virtually anything was allowed so long as it wasn't running an operating system), I chose the Arduino Nano. This choice was specifically for its size, it having more than enough ability to do what I needed, and the fact that I had multiple in case I screwed up the perfboard and cooked one. (I did.)

My initial list of features to implement, and the corresponding parts:

  • Character face for animations and showing personality/moods/colors
    • 1.44" TFT LCD ST7735 screen
  • Character face color changing based on input
    • Basic 2-pin tactile button
    • TCS34725 color sensor
  • Character reacting to shake input
    • MPU6050 gyroscope
  • 3+ animations of the character reacting to "boredom"
    • N/A

For replication purposes, other parts I used include the following:

  • Arduino Nano with ATmega328P chip (basically, an older Arduino Nano)
  • 1k resistors x4 (for the LCD screen input)
  • 3"x3" foldable cardboard box
A sketched circuit diagram

________________________


Challenges and Extra Features

________________________

The character has four boredom response animations which play after a set amount of time of not interacting with it by shaking it or pushing its button:

  • Falling asleep
  • Squinting at the user (for a random period of time)
  • Bouncing around the screen like an old TV screensaver
  • Playing Peekaboo with the user (dipping out of the screen slowly and "hiding" for a random period of time, then abruptly popping back up to surprise the user)

I ran into some trouble initially with the LCD screen - despite documentation claiming it would be alright with my initial setup, it showed images as overexposed and streaky from multiple angles, even without the backlight attached to power. After some troubleshooting and internet sleuthing, I discovered that a few other people had this issue before me and resolved it with a set of well-placed 1k resistors.

I also briefly had issues with the optimal viewing angle of the screen - not having worked with this sort of LCD screen before, I was unaware of their tendencies to dramatically change displayed colors when viewed from the wrong angle. Flipping the screen in my design solved this issue, as the Box Buddy in practice would primarily be viewed from a down-looking perspective.

I fried an Arduino Nano when soldering up my first perfboard. I expected that to be the case. It was a learning experience, and I did not repeat it for the second one.

Being picky about my box for the enclosure turned to be a good choice, as being able to unfold the project after assembly to check on connections and show pieces in presentation ended up being incredibly helpful. A little low-temp hot glue is more than enough to secure components without damaging them or tracking down tiny screws for a prototype.

The last major challenge I ran into was that the tactile button "randomly" returned incorrect values when not pushed. As I realized later, this was because I needed to be setting that particular button to pullup input. It took adding and adjusting debouncing, adding and removing resistors, testing with a multimeter, and a bit of Google to figure that out. It's the small things that get you.

The unfolded Box Buddy
The perfboard
The folded up Box Buddy

Result

The result works like a charm, though the gyro shake sensitivity may need tweaking based on individual preference.

GitHub link to code

Video coming soon.

Ultrasonic Octopus

Scenario/Context

What this is for: This project was created for a class focused around Arduino development and rapid prototyping with laser cutters and 3D printers.

Professor policy: Perfectly fulfilling the rubric guarantees a B. To obtain an A grade, a student must build on the assignment in some way.

Team: Solo Project

Task

Build a device using an ultrasonic distance sensor, mounted on an L-bracket, which rotates in a semicircle and scans distances between itself and surrounding items at regular intervals. These scanned distances must then be output to a Processing program and displayed in a radar-like format, updated in real time.

Action

First, I implemented the base assignment. That's the given part. Now the part that got me the good grade.

My immediate first choice for almost any open-format personal project is to add an injection of personality. So I added the following:

  • Eyebrows
    • I noticed the sensor circles looked like cutesy eyes with a bit of imagination and a little mouth added. To play into that, I added two servo “eyebrows” and a feature to put them down to “concentrate” when a distance over 15 feet is scanned
  • Octopus arms
    • Inspired by the GitHub Octocat, I thought adding octopus arms would be cute. And they were.
  • Edge-lighting
    • The octopus arms being made of wood or similar materials would be nice, but if I really wanted to lean into a theme a bit more, adding some kind of color or further underwater element was needed.
    • Making the octopus arms out of acrylic, frosting the acrylic by sanding each arm, and building in blue LEDs ended up being a good way to do this.
The initial sketch of the full design
Very basic circuit diagram

I also themed the Processing application in ocean colors, but that was the easiest bit so I won't be highlighting it any further here.

________________________


Challenges

________________________

The number one challenge I had with this was with how I sandwiched the ultrasonic sensor between the face and the acrylic piece that I used to mount the servos. The servos had to be mounted behind the face, or they would ruin the effect with the screws and top piece, so there had to be a second plate behind the faceplate. That said, I had to be very careful about how I assembled it so that I had room for everything, was able to add nuts to the screws to keep them on, and was still able to screw the ultrasonic sensor's L-bracket to the rotating servo below.

Dimension sketches for the backing plates and brackets

The second challenge I had was that I chose rather thin acrylic for the octopus legs, and they liked to break on me. I will be changing that in the design if I ever make an Ultrasonic Octopus 2.0.

Result

I got an A and many "ooohs" and "aaaahs" when I turned off the light to show the edge-lighting.

Comment from the professor's feedback: “Probably the most impressively completed [submission for this assignment] I’ve seen in this class.”

This project inspired my later Box Buddy project, and the difficulties I encountered with the fragility of this project (and how interesting it was to children) are a major contributor to why I specifically made that project much more structurally sturdy. The face on this project is the logo on the nav bar and homepage of this website.